Ubooquity on Synology – Kuboo on Android
Introduction
I’ve been hoarding ebooks for the last decade or so. All kinds of readable stuff in mainly pdf, epub and mobi format found way to my hard drive and phone. It all got too big after a while for comfortable having and using, and I wanted to see on my phone everything I had on my hard drive because I mainly read on my phone. This meant usually emailing myself and attaching books either from hard drive or phone to those emails. I used cloud for a while but was never satisfied how workflow looked like. It was download a book to computer –> upload to cloud –> download on phone; or download to phone –> upload to cloud –> download on computer. When I got the book on my phone first there was always some issue with keeping those book files in order and sometimes with upload to cloud. Phones aren’t really file management friendly. Finally I asked for help and kind Fosstodon people recommended Ubooquity as a nice ebook server I could self-host.
Let’s look at all the parts in question:
- Ubooquity is a free home server for your ebooks and comics
- Synology is a network attached storage device that runs on custom made Linux distro which can be accessed from internet
- The Open Publication Distribution System (OPDS) is an application of the Atom Syndication Format intended to enable content creators and distributors to distribute digital books via a simple catalog format
- Kuboo is lightweight Android application that can load books from Ubooquity server
For the setup I followed mainly what is written on Ubooquity documentation pages as described as Option 2 – Task scheduler procedure.
Synology setup
- Create shared folder and copy ebooks to folder
- Install Java 8
Shared folder
To configure Ubooquity server you will have to point it to some shared folder with ebooks. If you already have a shared folder and inside that folder you already have ebooks, you can skip this step and Step 2. If not, go to Control panel –> Shared Folder and there create a shared folder. Now copy some books into this folder. This is the folder for ebooks you want Ubooquity to serve.

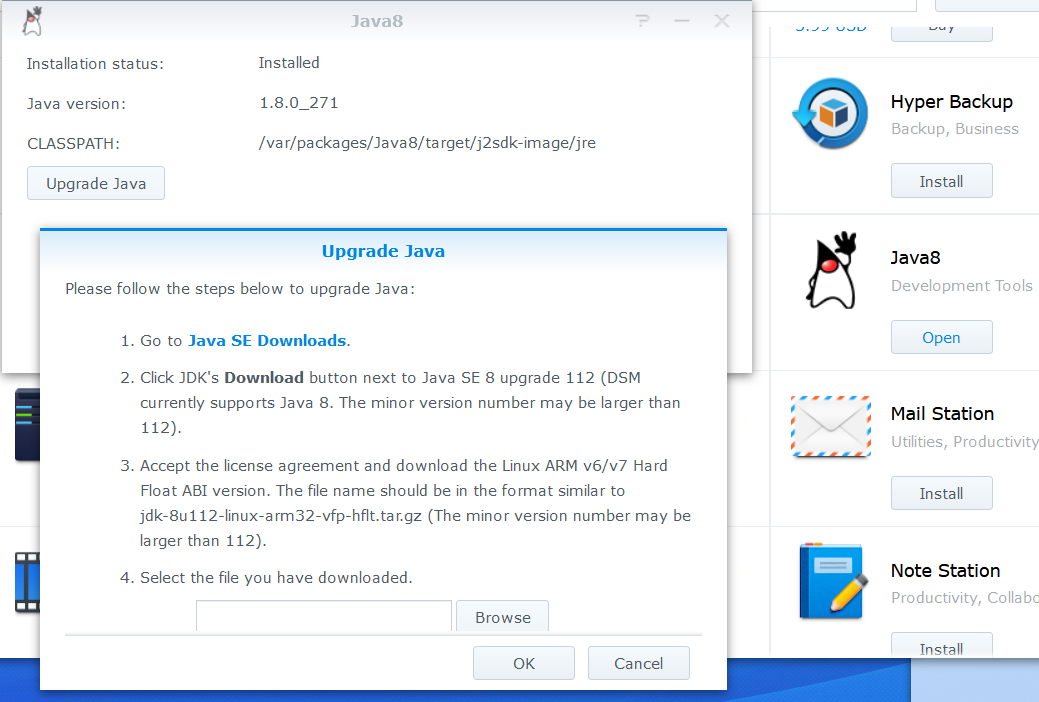
Install Java 8
I have Java 8 available on my Synology so I installed this one and upgraded it to the last version.
To do this go to Package center –> Java 8 and install. Now open it and upgrade it. Instructions are in the dialogs.
For the rest of the setup you will have to know the path to where Java is installed.
You may have noticed that your Synology is point and click device mainly, and that where the apps are or packages is not clear from the graphical interface. Whenever you have to do something with remote Linux server (and your Synology is one) “the internet” will tell you “SSH to it”. SSH is a software package that enables secure system administration and file transfers over insecure networks.
Go to Control panel –> Terminal & SMTP and enable SSH. It has a default port and people say change it to be more secure, but if you turn it of after done with this setup, you shoul be fine.
Now open terminal, cmd, whatever you have on the computer you are accessing your Synology from and SSH to it:
ssh user@server
Navigate your way to the Java folder. For Java 8 it should be:
/var/packages/Java8/target/j2sdk-image/bin/
Ubooquity setup
As I said I used the instructions from Ubooquity documentation pages. But I failed at first. Then after some reinterpretation of instructions and further fails I stumbled upon a solution and all of a sudden it worked. The instructions from Ubooquity documentation pages are maybe a bit unclear, but OK until the very end.
Steps:
- Create the Ubooquity “working” folder on Synology
- Get the Ubooquity.jar file
- Get the ubooquity.sh file
- Upload files to Ubooquity folder
- Edit the ubooquity.sh file
- Start server with Task scheduler job on Synology
Ubooquity “working” folder
Create a folder on your Synology drive. I suggest you put it somewhere you can access it without SSH. You can even put it into your ebooks folder if you like. It can have any name, but let say it is Ubooquity. Inside this folder, create another folder which has to be named .ubooquity.
Now upload the .jar and .sh files to /Ubooquity folder.
Edit the ubooquity.sh file
When instructions say “adapt to your environment” or something similar it is usually painstaking process for a noob like me. So here it is in a bit more detail.
These are the contents of ubooquity.sh file where you have to put the correct paths to Java, folders and files you previously created.
#!/usr/bin/env bash

#title           : ubooquity.sh

#description     : Launch ubooquity server. shell script in task manager

#date            : 20170807
### JAVA VARIABLES ###

# Java installation directory

JAVA_DIR=/var/packages/Java8/target/j2sdk-image/bin/

# Maximum size of the Java runtime memory allocation pool. Default: 64MB

MEM=512m

### UBOOQUITY VARIABLES ###

# Ubooquity binary location

UBOOQUITY_BIN=

# Ubooquity working directory

WORK_DIR=/volume1/homes/yourusername/Ubooquity/.ubooquity

# Ubooquity process ID file location

PID_FILE=$WORK_DIR/ubooquity.pid

# Ubooquity library port

LIB_PORT=2202

# Ubooquity administration port

ADMIN_PORT=2203

### ENVIRONMENT VARIABLES ###

# Character encoding

ENCO=UTF-8

# Locale selection

LANG=en_US.$ENCO

### SCRIPT ###

# Workaround to read special characters properly

export LANG

# Kill previous process

if [ -f $PID_FILE ]; then

pkill -F $PID_FILE > /dev/null 2>&1

fi

# Launch ubooquity

printf "Starting Ubooquity server...\n"

$JAVA_DIR/java -jar -Dfile.encoding=$ENCO -Xmx$MEM $UBOOQUITY_BIN \

--adminport $ADMIN_PORT --libraryport $LIB_PORT \

--workdir $WORK_DIR \

--remoteadmin --headless & UBOOQUITY_PID=$!

echo $UBOOQUITY_PID > $PID_FILE

printf "Ubooquity is now running (pid: %d).\n" $UBOOQUITY_PID

exit 0
Edit path to where Java is on your Synology:
# Java installation directory

JAVA_DIR=/var/packages/Java8/target/j2sdk-image/bin/
Edit path to where Ubooquity.jar file is:
# Ubooquity binary location

UBOOQUITY_BIN=/volume1/homes/yourusername/Ubooquity/Ubooquity.jar
Edit path to where .ubooquity file is:
# Ubooquity working directory

WORK_DIR=/volume1/homes/yourusername/Ubooquity/.ubooquity
Start server
The server will be started and restarted by creating a task which will repeat whenever your Synology boots. The first time you can run the task manually.
Go to Task scheduler –> Create and click on User-defined script.

Give it a name, check the Enabled box and go to Task settings tab.

In User-defined script field input the path to ubooquity.sh.

Press OK. A new task will appear in main Task scheduler window. Select it. Press Run button. Now you started the server. Select task again, press Action button and View result. The Current status should say “Normal (0)”.
Ubooquity configuration
I mentioned there is a mistake in Ubooquity documentation. They have written the address for Ubooquity admin web interface with the wrong port number.
If your Synology has IP 192.168.1.2, then correct admin page address is:
192.168.1.2:2203/admin
and Ubooquity server web interface address is:
192.168.1.2:2202
After you visit the admin page, you will be asked to set username and password. Do it. Log in. Configuration is straightforward from this point on. It boils down to creating a user (you) pointing the server to your ebook folder on Synology and you are good to go. Ubooquity interface is really user friendly. You can start reading your books after you log in as the user you created on 192.168.1.2:2202.
To use Kuboo, the Android reader of OPDS feeds, you will have to eable OPDS feed which is on the advanced tab in Ubooquity admin interface.

Kuboo setup
Kuboo is an Android app which can read your OPDS Ubooquity feed and show you the books you have. After you choose the book you want to read, Kuboo downloads it to your phone and you can read it with Kuboo, or with some other reader if you like.
Find it on Google play store (or maybe on Kuboo GitHub page, but I don’t know how to do it). Install. Go to Settings, and input the server address, username and password.
http://192.168.1.2:2202/opds-books
This links work if you are connecting from your home network. Use Synology quickconnect address to connect remotely.
http://quickconectID.synology.me:2202/opds-books
And… this is it! Good luck!